
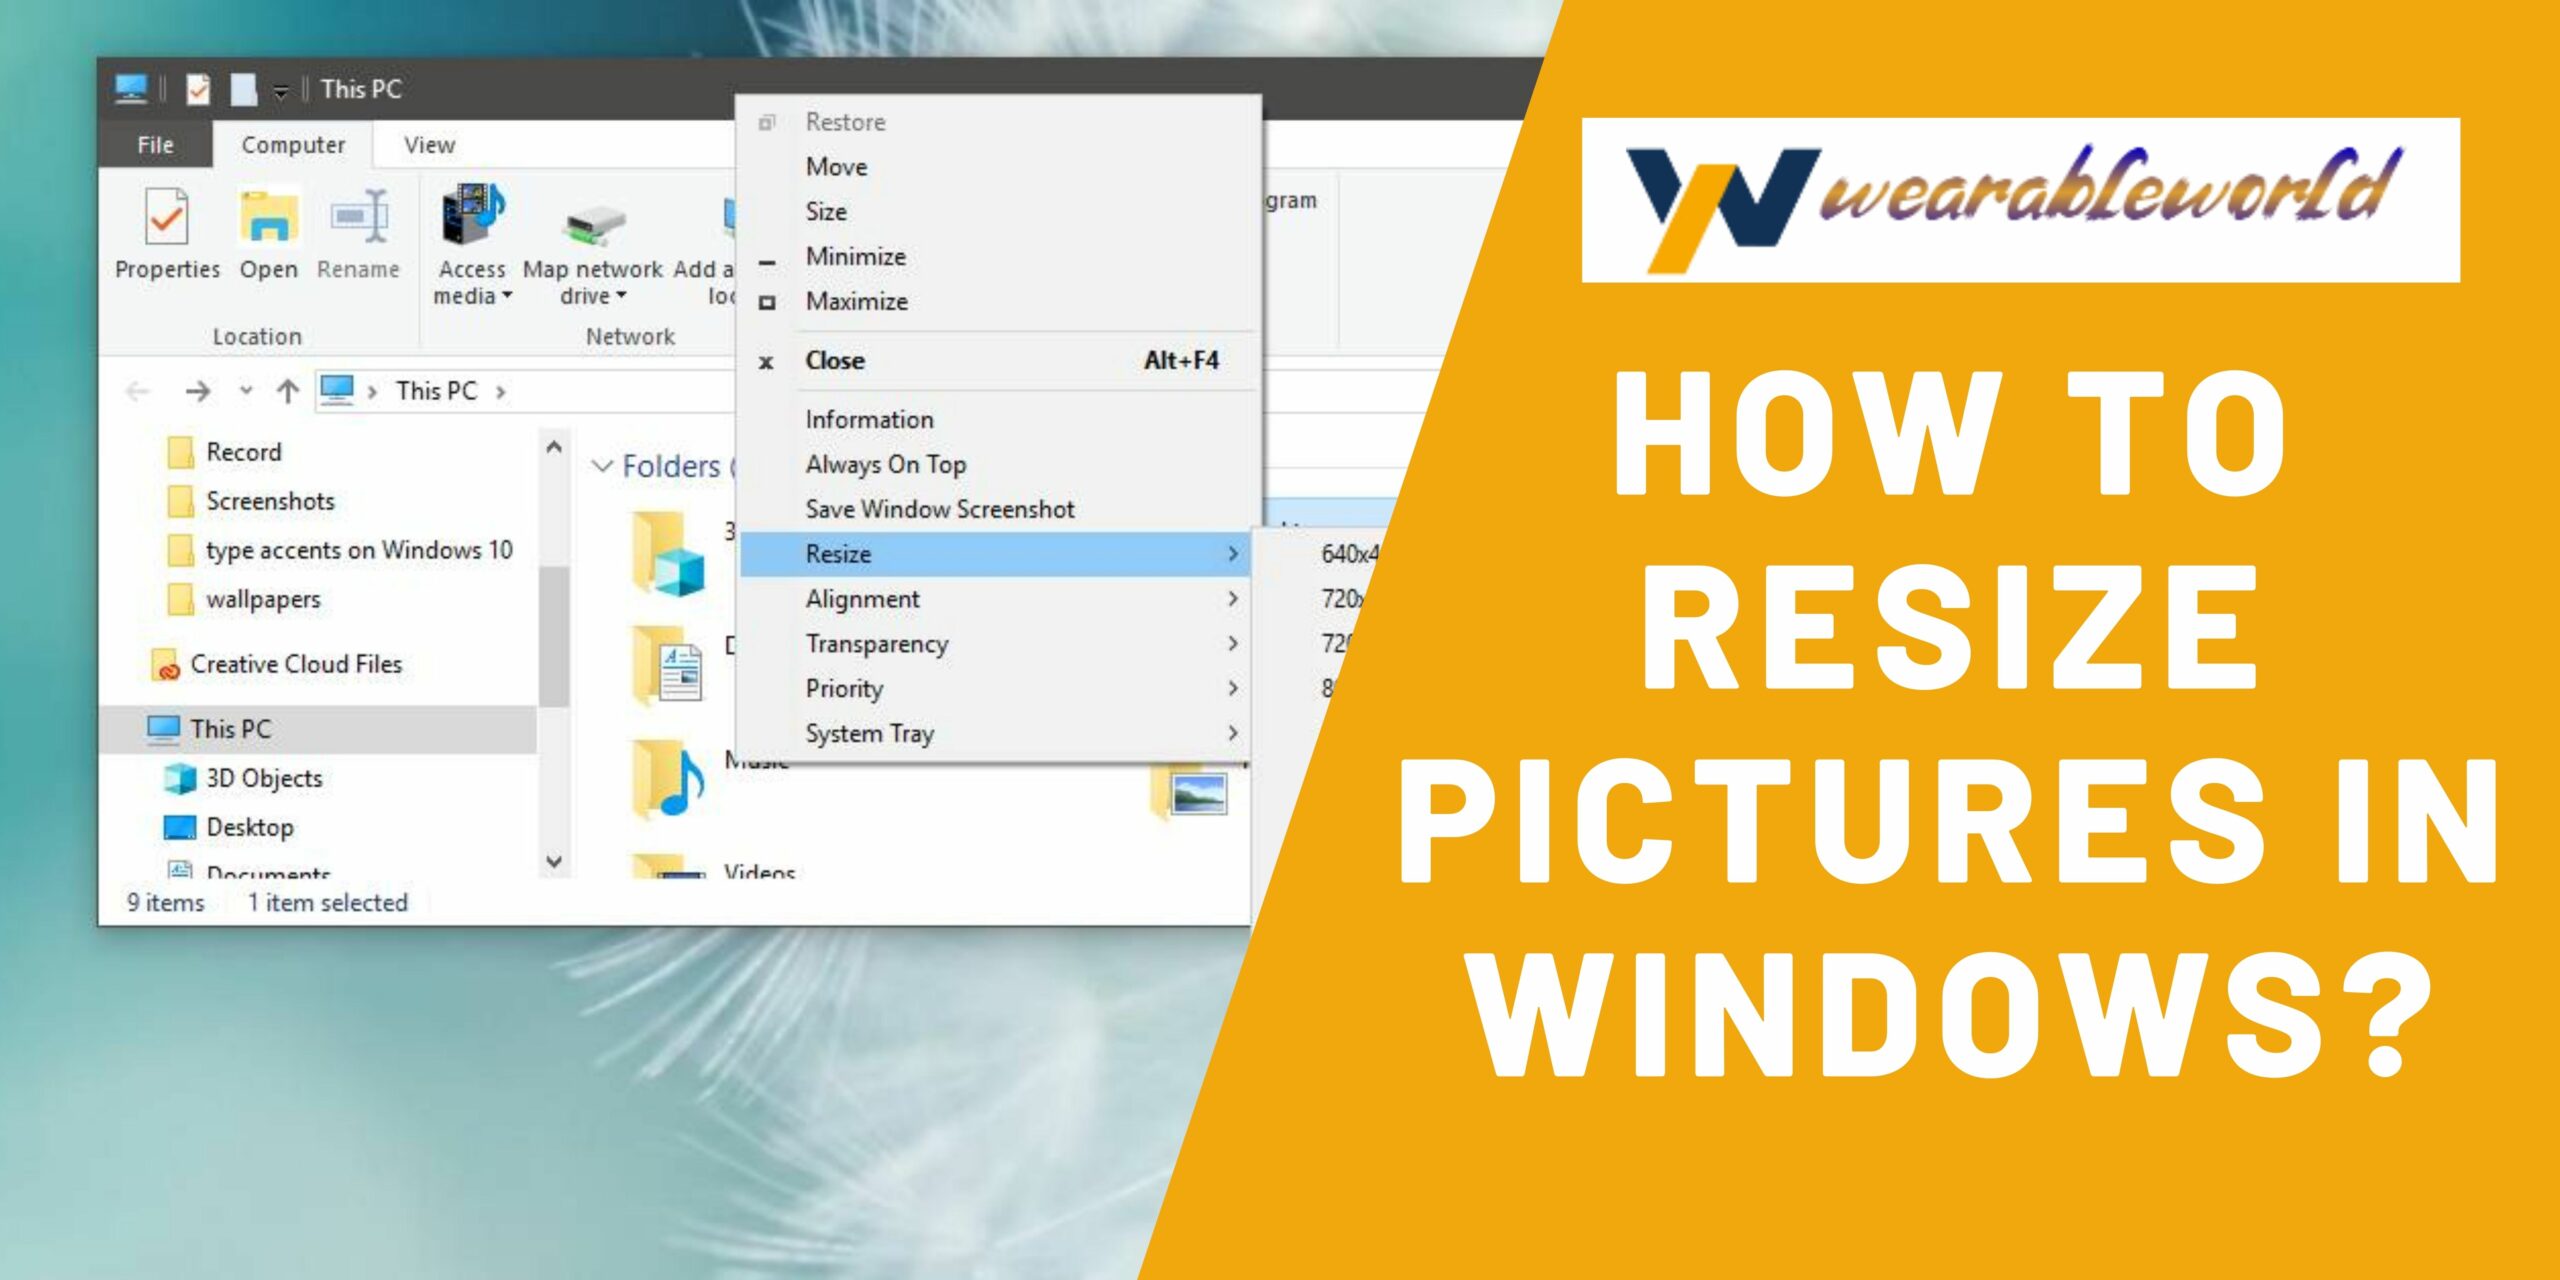
Windows 7 allows users to resize pictures by using the mouse or keyboard.
How to resize pictures in Windows
First and foremost, take a picture of the picture you want to resize.
Now, open up Windows Picture and Fax Viewer.
Click on the picture you just took, and then click on the “Resize” button in the toolbar at the top of the window.
In the “Width” and “Height” fields, type in the size you want the picture to be, and then click on the “Resize” button.
If you want the picture to be centered in the window, type in “Width:Auto” and “Height:Auto” in the “Center” field, and then click on the “Resize” button.
If you want the picture to be cropped, type in the dimensions of the part of the picture you want to keep in the window, and then click on the “Resize” button.
If you want to adjust the brightness, contrast, or saturation of the picture, click on the “Adjust” button, and then click on the “Resize” button.
When you’re finished resizing the picture, click on the “Close” button.
Quick and easy ways to resize pictures in Windows
First, open the Picture Viewer by going to “Windows Picture and Fax Viewer” from the start menu, or by pressing the Windows logo key + V.
Next, right-click on any picture you want to resize and select “Picture Properties.”
In the Picture Properties dialog box, click on the “Resize” tab and then choose one of the following resize options:
Option 1: To resize the picture to its original size, click on the “Original” radio button and then enter the new size in inches.
Option 2: To resize the picture to a different size, click on the “Resize” radio button and then choose one of the following resize options:
Option 2a: To resize the picture to its original size, but make it smaller by cropping it, click on the “Crop” radio button and then enter the new cropping dimensions in inches.
Option 2b: To resize the picture to a different size, but keep the same proportions as the original, click on the “Keep Aspect Ratio” radio button and then enter the new dimensions in pixels.
Option 3: To restore the picture to its original size, but with a reduced quality, click on the “Reset To Original” radio button and then enter the new size in inches.
Option 4: To resize the picture to a different size, but with a reduced quality
The best methods for resizing pictures in Windows
There are a few different ways to resize pictures in Windows. Some of the methods are easier than others and some can be more accurate than others. In this article, I’ll go over the different methods and which ones I find to be the best.
Method 1: The Classic Method
The classic method of resizing pictures in Windows is to use the Windows Image Viewer. To do this, open the Windows Image Viewer by clicking on the Windows Image Viewer icon on the taskbar, or by searching for “Windows Image Viewer” in the Start menu.
Once the Windows Image Viewer is open, select the picture you want to resize and click on the “Resize” button in the toolbar.
The “Resize” window will open. You can use the “Height” and “Width” fields to resize the picture. You can also use the “Fit To” button to resize the picture to the width or height of the current window.
You can also use the “Resample” button to resize the picture to a different size, but this will result in poorer quality images.
If you want to keep the quality of the picture while resizing it, you can use the “Scale” button to resize the picture while preserving the quality.
When you’re done resizing the picture, click on the
How to change the size of your pictures in Windows
If you want to resize your pictures in Windows, here’s how to do it:
1. Open Picture Viewer by pressing the Windows key + P.
2. On the Pictures Viewer menu, click the Pictures tab.
3. Under the Pictures tab, under the Display pictures by folder heading, click the pictures you want to resize.
4. On the sizing toolbar, click the down arrow next to the Width box and select the desired width.
5. Click the up arrow next to the Height box and select the desired height.
6. Click the OK button.
7. The pictures will now be resized to the width and height you selected.
How to make your pictures smaller or larger in Windows 7
Step 1: Open the Picture folder.
Step 2: Open the folder for the picture you want to resize.
Step 3: Double-click on the picture to open it in the Picture Editor.
Step 4: Click on the picture’s “Layout” tab.
Step 5: Click on the “Resize” button.
Step 6: In the “Resize” dialog box, specify the new size for the picture.
Step 7: Click on the “Apply” button.
Step 8: Close the Picture Editor.
Conclusion
After resizing pictures windows 7, the pictures may look grainy or pixelated. The best way to avoid this is to resize the pictures using a photo editing program that has a resolution restore feature.

