
Changing the partition style on your hard drive can help improve performance.
Different ways to change your partition style
There are several different ways to change your partition style. The most popular method is to use a table. To create a table, first open the Table Editor by clicking the Table button on the toolbar and then clicking the Table Editor button on the status bar.
To change your partition style, first select the table in the Table Editor. Then click the Partition Style button on the toolbar and select one of the following options:
1) Fixed
2) Gapped
3) Range
To change the number of partitions in the table, select the Partition Count field and click the up or down arrow to increase or decrease the number of partitions.
To create a new partition in the table, click the New Partition button on the toolbar and enter the desired information in the Partition Fields field.
To add a new table to the same partitioned table, drag and drop the table on top of the table in the Table Editor. The table will be added to the bottom of the table stack and will be automatically assigned the same partition style as the table in the Table Editor.
Why you might want to change your partition style
There are a few reasons why you might want to change your partition style. Maybe you want to get more readership and exposure for your blog by making it more professional or witty. Or maybe you want to make your blog more clever and engaging. Whatever the reason, there are a few different ways to do it.
One way is to simply change the style of your blog section. You can do this by switching to a more professional or witty style. This will give your blog a more distinguished appearance and make it more likely that readers will take notice.
Alternatively, you can make your blog more clever and engaging by using different partition styles. This will add an element of novelty and excitement to your blog, making it more interesting and user-friendly. This is especially effective if you have some interesting or controversial ideas that you want to explore in more depth.
Whatever the reason for wanting to change your partition style, there are a few different ways to do it. So don’t be afraid to experiment a little and see what works best for you.
How to change your partition style in Windows
Changing the partition style in Windows can be a bit of a pain, but it’s definitely worth it. Here’s how to do it:
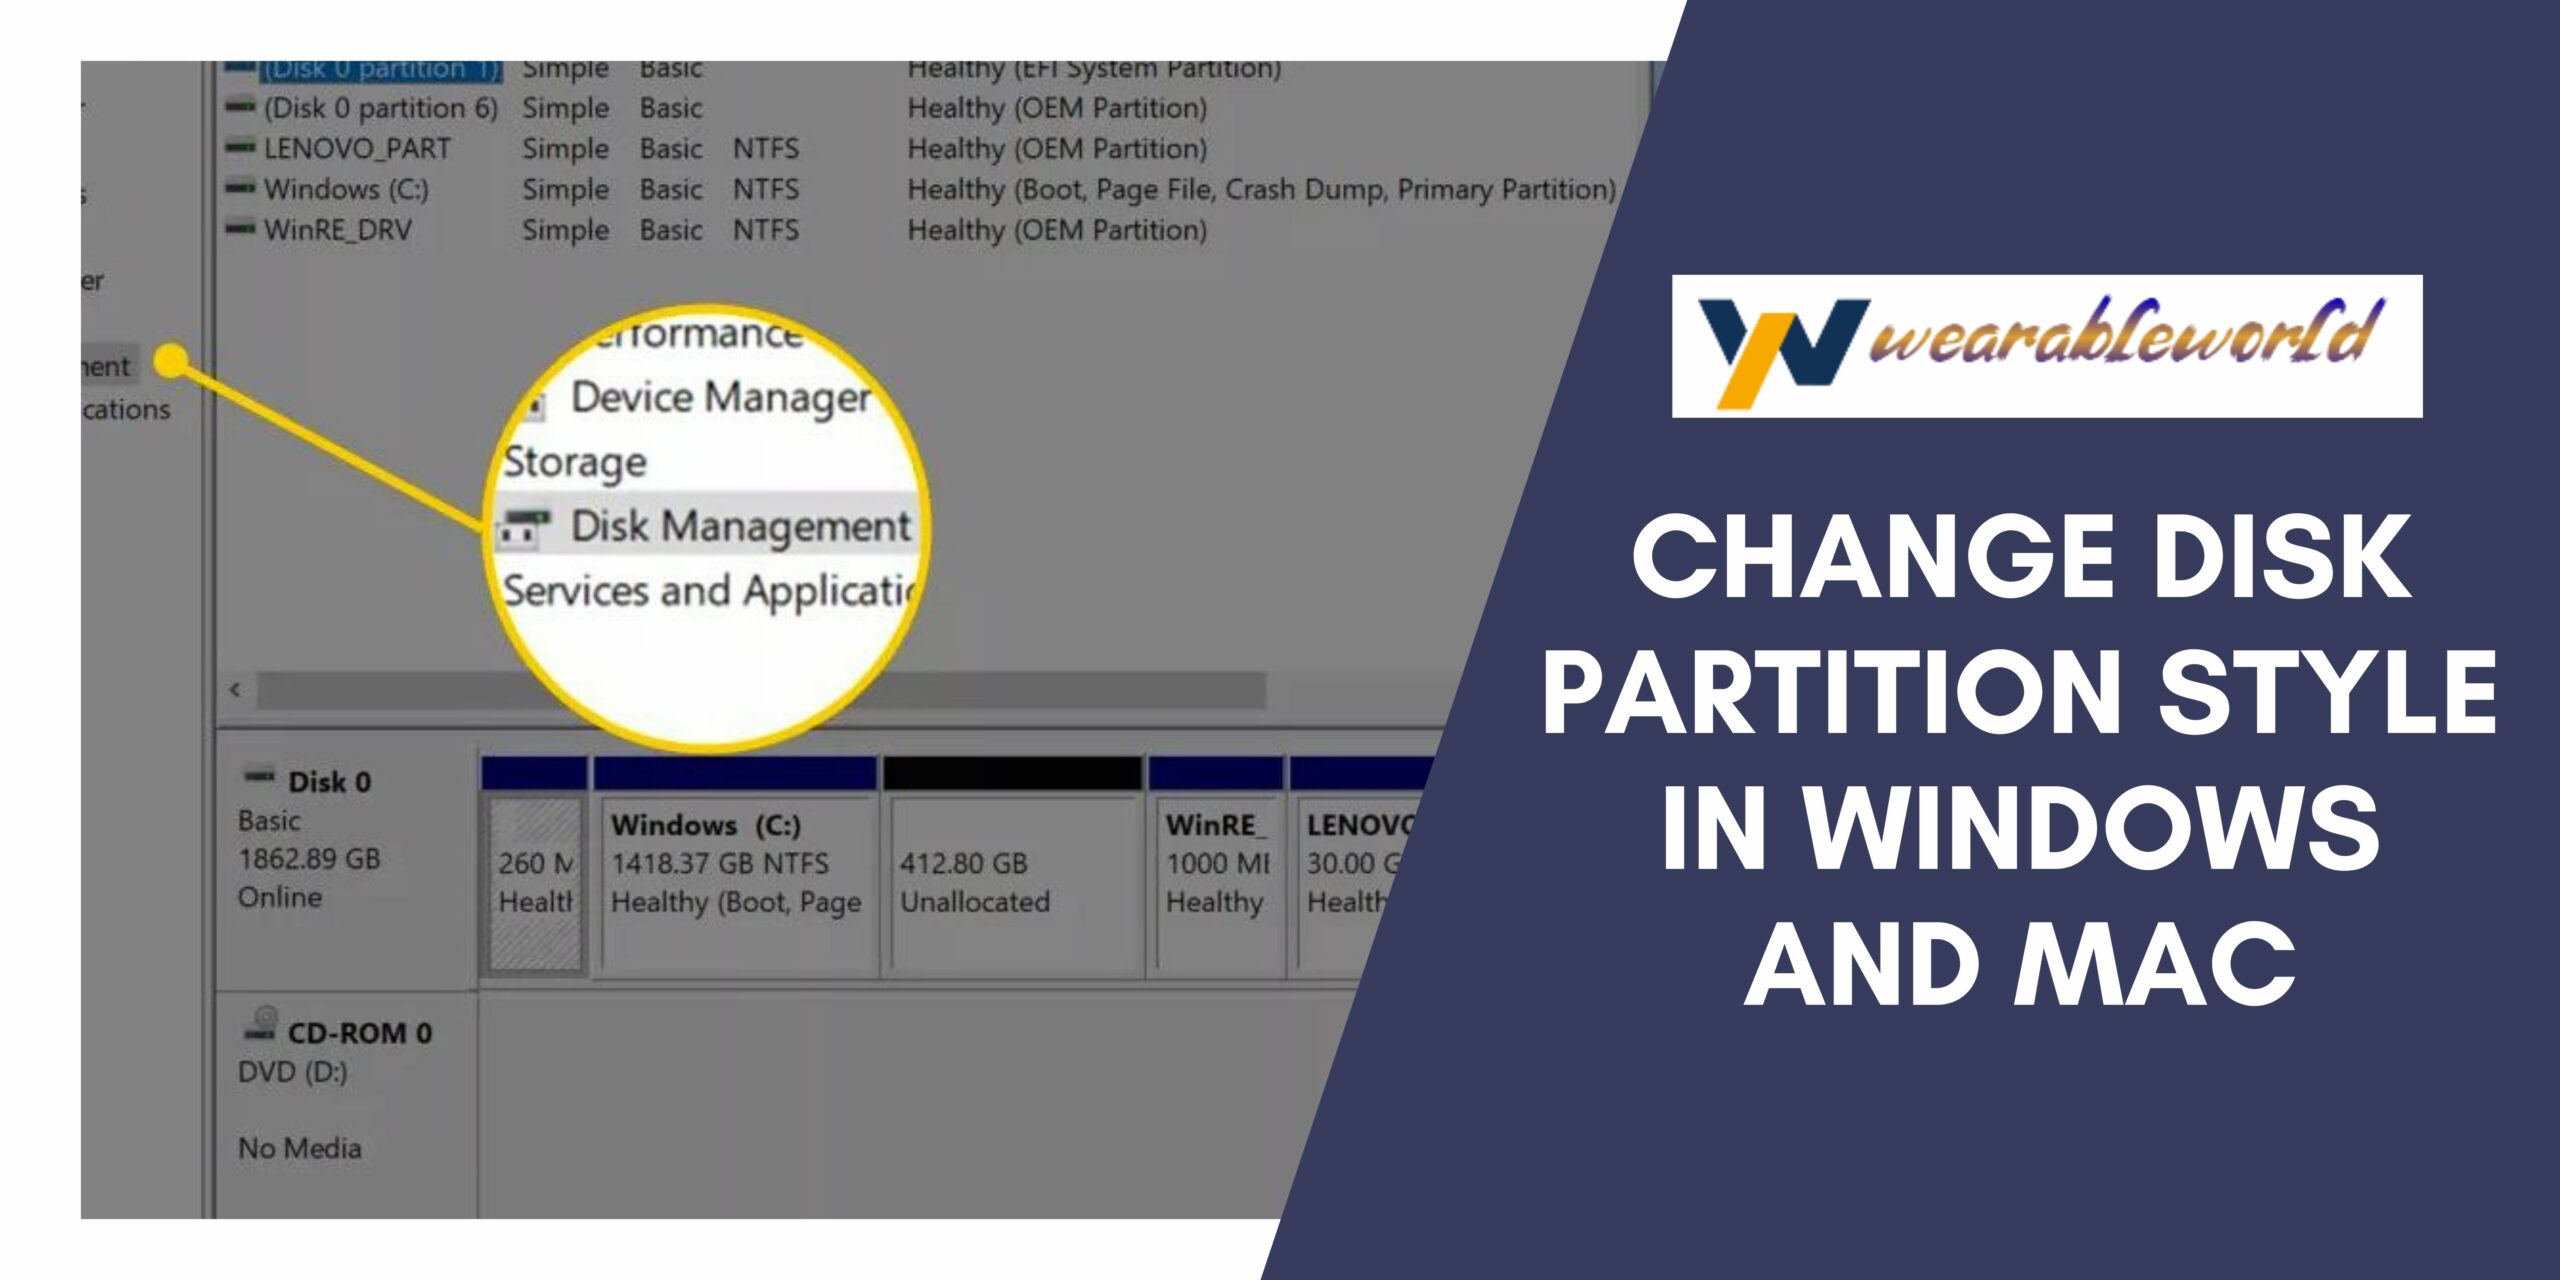
1. Click Start, and then click Computer.
- In the Computer window, click Local Disk (C:), and then click the partition where you want to change the partition style.
- Right-click the partition, and then click Properties.
- On the General tab, click the Partition Style box, and then click the type of partition you want to use.
- Click OK, and then click OK again to close the Properties window.
- Click Start, and then click Computer.
- In the Computer window, click Local Disk (D:), and then click the partition where you want to change the partition style.
- Right-click the partition, and then click Properties.
- On the General tab, click the Partition Style box, and then click the type of partition you want to use.
10. Click OK, and then click OK again to close the Properties window.
11. Click Start, and then click Computer.
12. In the Computer window, click Local Disk (E:), and then click the partition where you want to change the partition style.
13. Right-click the partition, and then click Properties.
14. On the General tab, click the Partition Style box, and then click the type
How to change your partition style in MacOS
If you need to change your partition style on a Mac, you can do so by following these steps:
1. Open the Finder and navigate to the partition you want to change.
2. Click on the partition and select “Options” from the menu that appears.
3. Click on the “Appearance” tab and select the “Partition Style” you want to use.
4. Click on the “Apply” button to apply the changes.
Tips for changing your partition style
Choosing the right partition style is critical when creating a blog. Not only does it dictate the overall look and feel of your blog, but also the way in which your content is presented.
There are a variety of options to choose from when it comes to partition style, and each has its own advantages and disadvantages. Here are a few tips to help you decide which one is right for your blog:
1. Use a Grid Layout
A grid layout is the most common and standard option for partition style. It uses a series of evenly spaced columns and rows, which makes your content easily parseable and searchable.
Grid layouts are also popular because they look professional and polished. They are popular among online magazines and newspapers, and they lend a blog a similar look and feel.
2. Choose a Column Layout
A column layout is similar to a grid layout, but the columns are not evenly spaced. This option is best suited for blogs that have a lot of content and want to save space.
Column layouts are more difficult to search and parse, but they can look more stylish and modern. They are popular among websites that sell products or offer information in a step-by-step format.
3. Use a Split Layout
A split layout is a variation of the column layout. The columns are not evenly spaced, but instead they are split into two or more sections. This option is best suited for blogs that have a
Conclusion
When you are ready to change your partition style, be sure to back up your data and make a clean installation.

